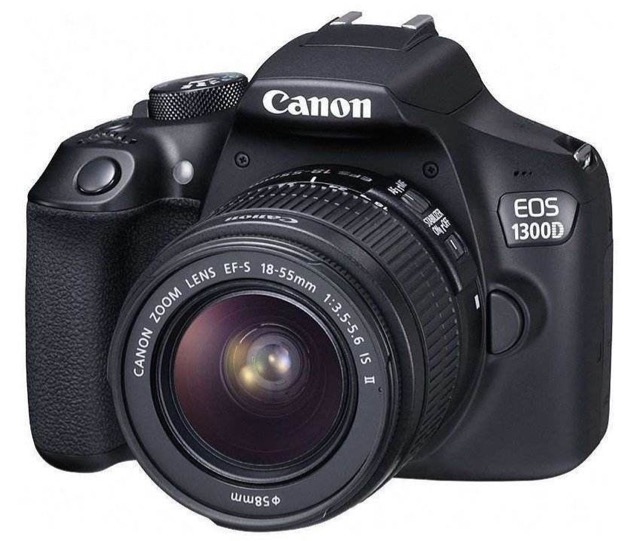
The Canon 1300D/Rebel T6 DSLR is a great camera for shooting stills and also movies. However, it is always a good idea to get the Canon 1300D video settings right from the start.
The Canon 1300D has a specific option for movies and in order to make any changes in the 1300D to shoot movies you need to go to the Video Mode, which is on the Mode Dial. Turn the Mode Dial round to the very bottom option which shows a video camera, and you will hear the mirror inside the camera pop up. This allows you to see your subjects through the backscreen and this is the only way you can shoot video on this camera.
The menu tab options are different when you are in video mode. You have fewer choices, but they are dedicated to shooting video. The first thing that you should decide on is your video system. This may seem a bit irrelevant – it was developed when Television systems were very different and if you wanted to show your videos on a TV screen you had to marry the cameras settings to the TV. There are two systems, one is PAL and the other is NTSC. NTSC operates in the United States and PAL tends to be the system which is operated in Europe and other parts of the world. Whilst there is not much difference, it does change the way that the camera operates very slightly. For example, when you start to look at the frame rates you will see that under NTSC you get a frame rate option of 60 frames per second or 30 frames per second. When you are in PAL you get the option of 50 frames a second and 25 frames per second. Most people these days don’t shoot on DSLR in order to show their videos on televisions. They tend to use it for social media or showing on a laptop. In which case it doesn’t make really any difference. However, also be aware that these frame rate speeds can affect the way a video looks under artificial lighting, or if you have a tv screen or monitor in the shot. That is because lights flicker and TVs work at the same NTSC rates in the USA and PAL rates in Europe. So it is worth getting right, otherwise you might find a strange flickering in your video, or the TV screen will have a black band dropping down the screen, because the camera and lights are out of synchronisation. Annoyingly, you won’t see this until you are editing afterwards. In order to change Video Mode you need to go into the menus and you go to Tab 2 and down at the bottom you have the option to change Video System.
The second options you need to think about in the Canon 1300D video settings is file size and frame rate. Although they are two choices, they are combined for you in the Canon 1300D video settings. These options are important because they will decide the quality of the movies that you produce. The canon 1300D is pretty good – it will shoot 1080p which is full HD and it will also shoot 720p which is standard HD – both these sizes are absolutely fine for YouTube or Vimeo. In order to make those selections go into Video Tab 2 and find Movie Recording Size. Press on that option and we are offered four choices. Depending on whether you’ve chosen NTSC or PAL, you maximum rates will be either 60fps or 50fps.
The next option you need to consider in the Canon 1300D video settings is exposure. When you are shooting photographs with the Canon 1300D you have many options. They are all on the Mode Dial and they go from entirely manual to semi-automatic and then to entirely automatic options. In most of these Modes the Canon 1300D is trying to get the best exposure for the stills that you are shooting, within the parameters of light etc. With shooting movies you have two options – you can either shoot Automatic or you can shoot Manual. With Automatic in the movie setting the Canon 1300D will try to get the best exposure for you and it usually works very well, so I would suggest that initially at least you shoot in Automatic until you become more confident.
When you progress to Manual, changing the various parameters in the Canon 1300D video settings can seem quite complicated. They are certainly different than the option for shooting photographs. Movie Exposure is in Video Tab 1 and you get the two choices, Auto or Manual. If you choose to go into Manual then you have much more control over the settings. You will be able to change the Shutter Speed, the Aperture and the ISO. For the Shutter Speed, rotate Main Dial on the Canon 1300D. By depressing the AV button and rotating that Main Dial at the same time you can change the Aperture. The ISO is changed by pressing the flash button and rotating the Main Dial.
The fourth option you need to consider in the Canon 1300D video settings is sound. Sadly, the Canon 1300D does not have an external microphone socket. It just has an internal microphone which works reasonably well, but can be a bit limited. In Shooting Tab 2, the second one down is Sound Recording and you can set that to one of three options. You can have either Auto, Manual or Disabled. I don’t think you should disable it entirely because sometimes it is useful to have sound, even if you don’t intend to use it in the final cut. It is helpful for editing. Auto is quite good and it will try to pick up as much sound as possible. Of course, you may not want the ambient sound, you might be trying to capture something specific. Manual is OK provided you are quite close to the sound source. On the backscreen you will see a decibel bar going across the bottom and you should try to get the sound peaking at about 12.
The next couple of options in the Canon 1300D video settings that need to be checked are in Video Tab 3 and it may seem that they are less important than other choices. However, you should take a look at them because they do affect the way that your video looks. Go to the bottom of Video Tab 3 to the Picture Style option. These options can really affect the way your movies look. They are the same options that you get with photographs and you can choose to have Vivid or Sepia or many other options and some of them are set so that they bring out the best qualities for portrait and landscape. With video it tends to be better to try and shoot video as flat as possible and so the best option to start with is neutral and so you should always set that to neutral for video until you make the decision that you want to change the Picture Style and shoot something differently. The one just above that in Video Tab 3 is Custom White Balance. It’s very important for shooting videos because if you start moving around and shooting things in different light then the one stable element – the one constant – will be the white balance.
To see more about the Canon 1300D/T6 Click here.


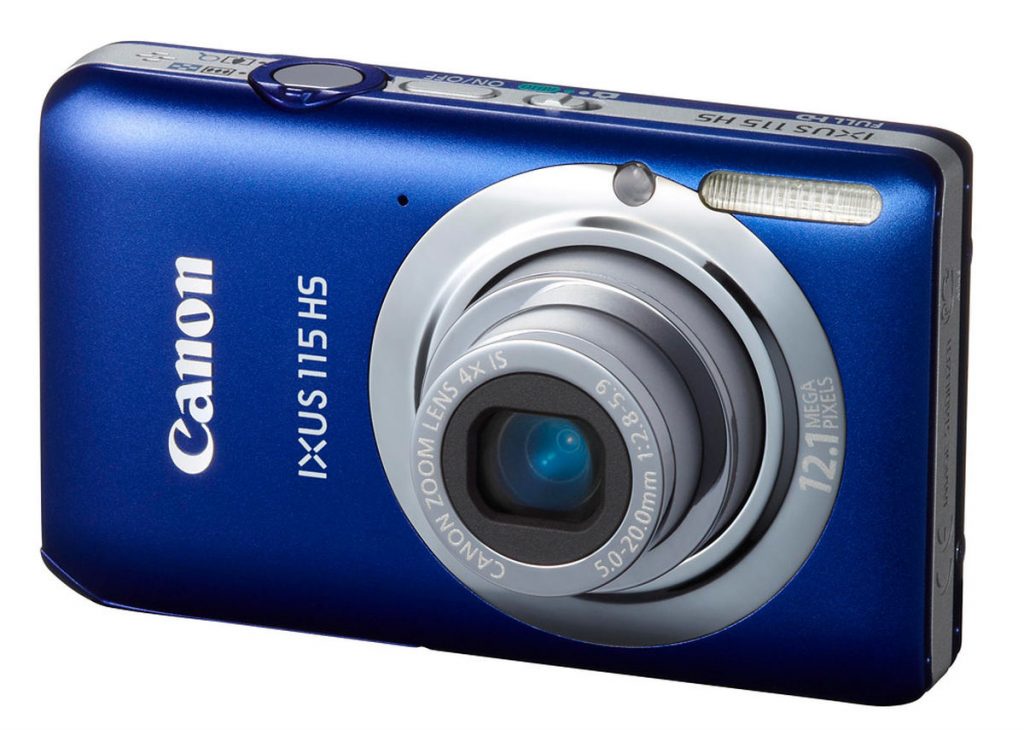
 This is one of Canon’s ‘don’t make me think’ range of cameras and, if you want a pretty camera to point and shoot, or record your memorable moments, then this will do the job very well. The 12 Mega-pixel file size gives you good detail and will blow up enough for most requirements. The lens zooms 4x from about 28mm to 112mm, which is perfect for group shots, party pictures or portraits. Canon’s Image Stabilizer system endeavours to counter any camera shake. The Smart Auto function detects 32 different scenes, allowing you to leave all the decisions to the camera and Movie Digest records 4 seconds of video before taking the still, joining all the clips together to produce a mini-film of the days events for you. The Ixus 115 has a fast 8~Frames per second burst rate – though I can’t think what it would be used for. It also has a selection of effects, such as Fish-eye, miniature and toy camera to keep your pictures fresh and creative.
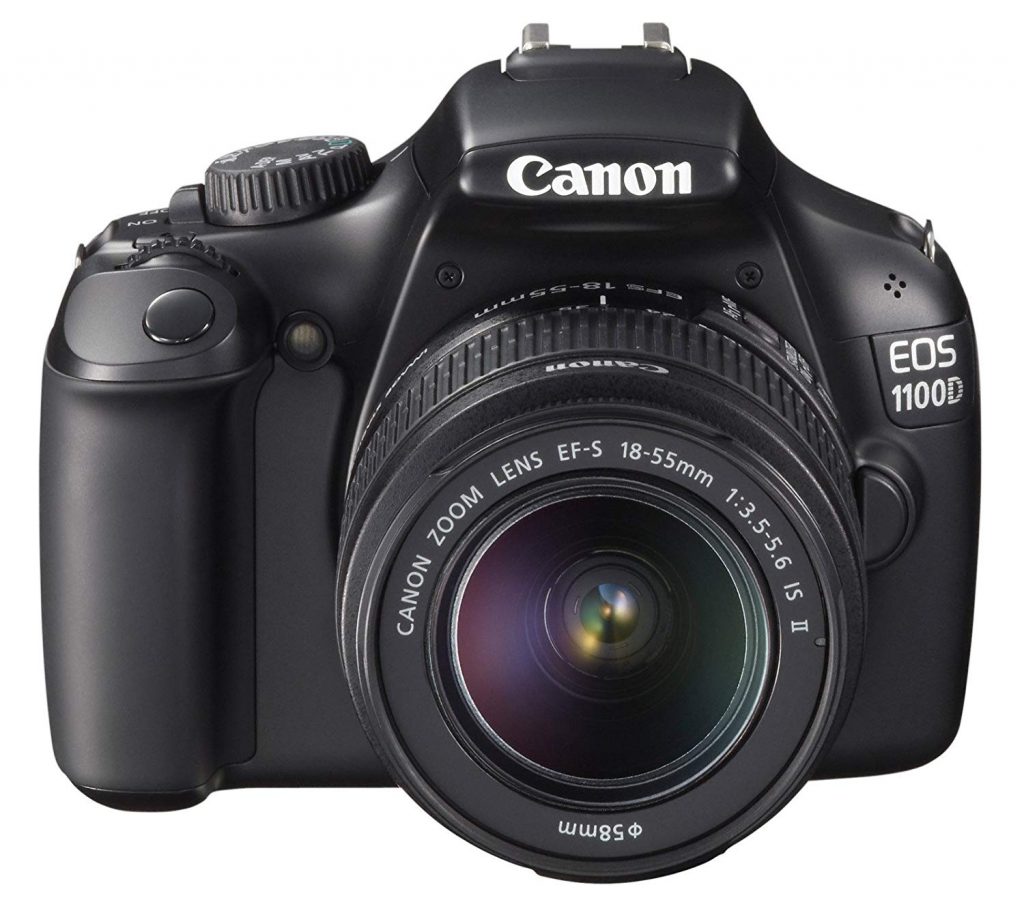
 The Canon EOS 1100D is Canon’s budget model. It gets all the important stuff right, such as metering and focus and the beginner should be perfectly happy with the range and quality of this camera. Many of the camera components and systems have been inherited from other previous Canon models further up the range. Whilst it may not offer anything out of the ordinary, the EOS 1100D does a very competent job at taking good pictures with minimum amount of fuss. The beginner-friendly settings allow this and the advanced settings allow the novice to experiment and gain experience. This is an ideal camera for someone who wants to learn the craft of photography.