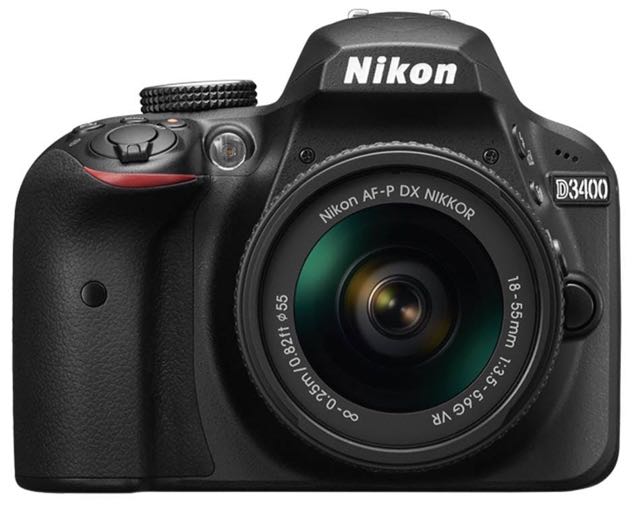
Nikon D3400 white balance is one of my favorite settings for a couple of reasons. The first is that it helps you set the camera so that you get naturally exposed pictures which is really good. And the second is that you can use that same process to be really creative with your photography. This article discusses what white balance is and what the camera is trying to do and how creative that can be and how it can help you to manage your environment.
So first of all Nikon D3400 white balance: what is it all about? Well, when you walk into a room, or even outside, the quality of the light and the tone of the light will change. It changes depending on whether you are in natural or artificial light. Your eyes and your brain filter all of that out, so usually you do not really even recognize it, but the camera will because it is quite objective, whereas your eyes and your brain are quite subjective. Usually you do not want to take pictures in a light which has a color cast. If you do not notice the ambient color, then after the shoot, you could discover that your pictures either have quite a yellow or orange tinge, or have quite a blue tinge. The Nikon D3400 white balance – and setting the white balance – allows you to set the camera so that, effectively, it sees what you want to see and it sets white. The important thing to remember about white is it is not a single color, it is a combination of all colors and so once you set white with the camera, the camera is able to set all the other colors accordingly.
There are two ways of looking at the Nikon D3400 white balance. The most obvious one is when you are looking at the back of the camera as you press the i button and Nikon D3400 white balance is third along the top line. That gives you the option to select the white balance that you want. However it does not let you change the white balance within those settings. If you want to do that you need to go into the MENU OPTION and then go into SHOOTING MENU, then you go down to white balance and you will see that you have all the options that you would see when you look in the i button, but, should you press your multi-selector to the right, it will give you the option of either deciding to have a different option within that main sub-option (so for fluorescence, for example, you have seven further options in fluorescent which are all slightly different) or if you do not have different options then you have an option which allows you to change that option within the camera. You can do that by using the multi-selector and you can make either more green or more magenta or blue or more red. Personally, I think this is probably far too detailed unless you are going for a very specific look, but the general way of changing, which is to go back and just look at the general options in white balance when you are in the shooting menu, should be sufficient for you to decide your best option. But if you want to go in and change cloudy for example and make it a little more red or a little more blue then you can do so but you can not make those changes to that option from the i button.
So lets have a look at what the Nikon D3400 white balance options are when we come out of menu and we will have a look through them with the i button. The first one is AUTO. This tries to select the most obvious white balance itself. It has quite a good auto detection for white balance and in most cases you will be fine on AUTO with the Nikon D3400. It is fairly broad brush but it is pretty good for most circumstances. The next one is INCANDESCENT or tungsten. As I mentioned, that has quite a yellow tone to it because it is more like candle light or home and residential lighting which tends to be tungsten lighting and so it will try to take some of that warmth out – some of that orange and yellow and add some of the blue to make whatever is white in that picture more white and less yellow. The next one beyond that is FLORESCENT. That is a little bluer and it is the sort of lighting that you get in offices – the sort of strip lighting that goes across the top – which gives a very blue tone to things. And as a consequence of that the camera will try to add a little yellow to the picture. Then we get on to DIRECT SUNLIGHT. Now direct sunlight is actually a lot bluer than you might imagine and so it does try to add a little more yellow to that just to give it a more natural look. The one after that is FLASH. When you fire the flash, whether it is the built-in flash or an external flash, that is a very cold white shade. So as a consequence of that it does try to add some more yellow to give a more natural tone to the color, and especially, obviously for skin tones which is quite important. Then the next two which are CLOUDY and SHADE move further up Kelvin scale from and obviously then the environment becomes more and more blue as you move up there and so it will be trying harder and harder to add a little yellow and a little orange just to warm that picture up and make it look less cold. Obviously if you are shooting in shade or in cloud then as I said before there is a natural inclination for you for it to look slightly blue, slightly cold, so you want a little orange to warm that picture up.
At the moment, we are looking at setting the camera to get the most natural exposure, but imagine that you are shooting in a fluorescent office, but want the picture to look like it is a room with natural sunlight. This would be a good opportunity to change the Nikon D3400 white balance to shade and the camera will automatically warm the image up for you, changing the whole feel of the picture. That is how the white balance can work for you to create more interesting pictures.
For more information about the Nikon D3400 click here


